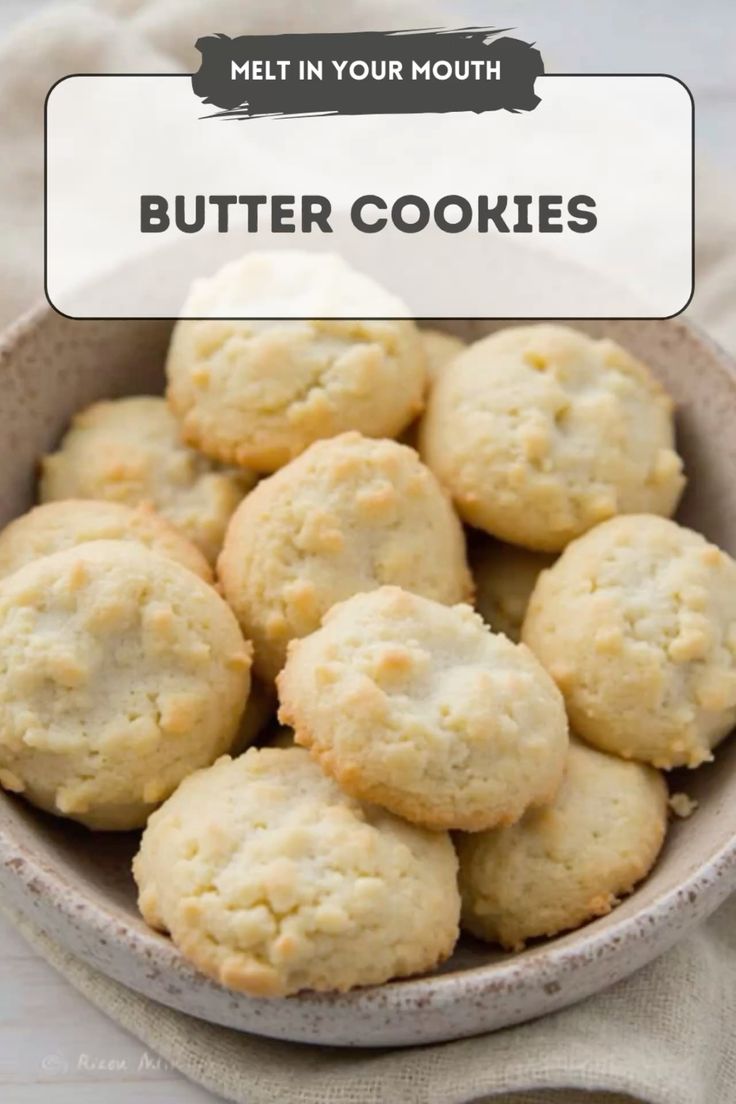
Unlocking the Secret to Homemade Crispy Butter Cookies: Perfect Shape & Irresistible Aroma
There’s something uniquely comforting and utterly delightful about a batch of freshly baked butter cookies. Their delicate crunch, rich buttery flavor, and intoxicating aroma can transport you back to cherished childhood memories or simply brighten a quiet afternoon. While store-bought versions abound, crafting your own homemade crispy butter cookies allows for unparalleled freshness and flavor, and the satisfaction of creating something truly special. But achieving that ideal balance of perfect shape, distinct pattern, and melt-in-your-mouth crispness with a captivating aroma can sometimes feel like a baker's quest. Fear not, aspiring cookie connoisseurs! This comprehensive guide will equip you with all the tips and tricks you need to master the art of exquisite butter cookie making.
The Essence of Perfect Butter Cookies: It All Starts with Real Butter
The name itself, "butter cookies," leaves no room for ambiguity: butter is the star of the show. Many home bakers, perhaps looking to cut costs or out of habit, might consider substituting margarine. However, as any seasoned baker will attest, this is where the magic can be lost. While margarine can provide fat, it simply cannot replicate the nuanced flavor profile or the rich, creamy aroma that genuine butter imparts. The dairy solids in butter caramelize beautifully during baking, contributing to a depth of flavor that margarine, typically made from vegetable oils, simply lacks. If you absolutely must, a blend of mostly butter with a smaller portion of margarine might work in a pinch, but for that truly authentic, fragrant experience, go for 100% real butter. Unsalted butter is often preferred by bakers as it allows for precise control over the salt content in the final product, but salted butter can also be used if you adjust the recipe accordingly. This fundamental choice is the first and most crucial step towards achieving cookies that don't just taste good, but smell absolutely divine the moment they emerge from the oven. For a deeper dive into this vital ingredient, explore
Butter Cookies: Why Real Butter Guarantees Unmatched Aroma.
Crafting the Ideal Dough: Ingredients and Technique for Excellence
Beyond the star ingredient, each component of your butter cookie dough plays a specific role in achieving the desired texture and flavor. Let’s break down the essential ingredients and the techniques to bring them together perfectly.
Key Ingredients and Their Roles:
- Butter (175g): As discussed, provides flavor, tenderness, and contributes to crispness. Ensure it's at room temperature for optimal creaming.
- Powdered Sugar (75g): Also known as confectioners' sugar. Its fine texture dissolves easily, leading to a smoother, less gritty cookie compared to granulated sugar. It also helps create a more delicate crumb.
- All-Purpose Flour (175g): Forms the structure of the cookie. Using all-purpose flour provides enough gluten for structure without making the cookies tough.
- Cornstarch (45g): This is a secret weapon for many butter cookie recipes! Cornstarch adds a delicate tenderness and a coveted 'melt-in-your-mouth' quality that enhances crispiness. It works by inhibiting gluten development in the flour.
- Vanilla Extract (1/2 tsp, optional): A wonderful flavor enhancer that complements the butter beautifully. If you prefer a pure butter flavor, you can omit it, but a touch of vanilla often adds a lovely aromatic complexity.
- Egg (1 whole, optional): This is an interesting point of contention. Traditionally, many butter cookie recipes are egg-free, producing a drier, very crisp, almost shortbread-like texture. Adding an egg, as some bakers do, introduces a bit more richness, helps bind the dough, and can result in a slightly chewier or firmer cookie, less prone to crumbling. If you have an egg allergy or prefer the purist's crispness, feel free to omit it. If you like a slightly more robust cookie, one egg can be a welcome addition.
The Art of Mixing:
The technique for combining these ingredients is crucial.
- Creaming Butter and Sugar: Start by beating the room-temperature butter and powdered sugar together. Use a stand mixer with a paddle attachment or a hand mixer at medium speed. Beat until the mixture is pale, light, and fluffy. This process incorporates air, which contributes to the cookies' texture.
- Adding Wet Ingredients (if applicable): If using vanilla extract and/or an egg, add them to the creamed butter mixture and beat again until well combined. Scrape down the sides of the bowl to ensure everything is incorporated.
- Incorporating Dry Ingredients: In a separate bowl, whisk together the all-purpose flour and cornstarch. Sifting them together is even better, as it prevents lumps and aerates the flours. Gradually add the sifted dry ingredients to the wet mixture. Mix on low speed or, ideally, fold with a spatula until *just* combined. Overmixing at this stage can develop too much gluten, leading to tough cookies. The dough should be soft but pliable.
Mastering the Shape: Tips to Prevent Spreading & Get Crisp Lines
One of the most common frustrations in butter cookie baking is dough spreading in the oven, leading to blurred patterns or misshapen cookies that look more like "semprit" (spritz cookies) than elegant roses. Fortunately, there are several key strategies to ensure your cookies hold their perfect form and showcase intricate details.
The Chilling Advantage:
The most impactful tip to prevent spreading and achieve well-defined shapes is to **chill your dough**. After mixing, wrap the dough tightly in plastic wrap and refrigerate it for at least 30 minutes, or even up to an hour. The science behind this is simple: chilling solidifies the butter in the dough. When the firmer, chilled dough enters a hot oven, the butter takes longer to melt, allowing the cookie's structure to set before excessive spreading occurs. If you're pressed for time, you might be tempted to skip this step, but as many home bakers (including one from our reference) have discovered, sacrificing chilling time often results in regrettable "meleber" (spreading) cookies. While taste might still be excellent, the aesthetic appeal will suffer.
Piping Perfection:
Once chilled, your dough is ready for shaping.
- Piping Bag and Tip: Use a sturdy piping bag and a large, open star tip (like an Ateco 826 or 828, or Wilton 1M) for classic butter cookie shapes. A larger tip allows for easier extrusion of the stiffer, chilled dough and creates bolder, more defined patterns.
- Technique: Fill the piping bag about two-thirds full to make it manageable. Apply consistent, firm pressure to pipe your desired shapes onto a baking sheet lined with parchment paper or a silicone mat. Practice on a spare piece of parchment if you're new to piping. Don't crowd the cookies on the tray, as they will expand slightly.
Oven Temperature and Preheating:
Ensure your oven is fully preheated to the correct temperature, typically around 165°C (325°F) for butter cookies. A consistent and accurate oven temperature is vital. If the oven isn't hot enough, the cookies will spread more before they begin to set. Conversely, if it's too hot, they might brown too quickly on the outside while remaining underbaked inside.
These actionable steps are your best defense against cookie spreading and your pathway to beautifully sculpted baked goods. For a more detailed guide on perfecting your cookie shapes, check out
Crispy Butter Cookies Recipe: How to Prevent Spreading & Get Shape.
Baking to Golden Perfection & Storing for Lasting Crispness
Once your perfectly shaped butter cookies are on the baking sheet, it's time to bring them to life in the oven. Bake your cookies in a preheated oven at 165°C (325°F) for approximately 12-15 minutes, or until the edges are lightly golden. The exact baking time will depend on the size and thickness of your cookies and your specific oven. Keep a close eye on them, especially towards the end, as they can go from perfectly baked to overdone very quickly.
Once baked, remove the cookies from the oven and let them cool on the baking sheet for a few minutes. They will be quite delicate when hot. As they cool, they will firm up. After a few minutes, carefully transfer them to a wire rack to cool completely. This crucial step allows air to circulate around the entire cookie, preventing sogginess and ensuring that irresistible crisp texture develops fully.
Storage for Maximum Freshness:
To maintain their crispness and fresh aroma, store your cooled butter cookies in an airtight container at room temperature. A cookie jar or a plastic container with a tight-fitting lid works perfectly. Stored properly, homemade butter cookies can stay fresh and crispy for up to a week, though their deliciousness often means they disappear much sooner! Avoid storing them with softer baked goods, as they can absorb moisture and lose their crunch.
Conclusion
Homemade crispy butter cookies are more than just a simple treat; they are a testament to the joy of baking and the delightful rewards of attention to detail. By prioritizing real butter for an unmatched aroma, carefully selecting and combining your ingredients, and mastering the crucial steps of dough chilling and proper piping, you can consistently achieve cookies with perfect shapes and a delightful, satisfying crispness. Don't be discouraged by initial imperfections – every batch is a learning experience. Embrace the process, savor the incredible fragrance filling your home, and enjoy the pure pleasure of these timeless, buttery delights. Happy baking!